Homemade Peppermint Cream Recipe
✔ vegan (use agave instead of honey) . ✔ nut free (unless vegan)
Gone are the days when you need a saucepan and a selection of (slightly) obscure ingredients in order to make fondant. These days you can pick up fondant icing sugar in most supermarkets.
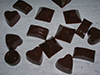
Fondant makes a wonderful filling for chocolates because it's quick to make, easy to work with and can take on a range of flavours. Peppermint creams are my all-time favourite chocolates.
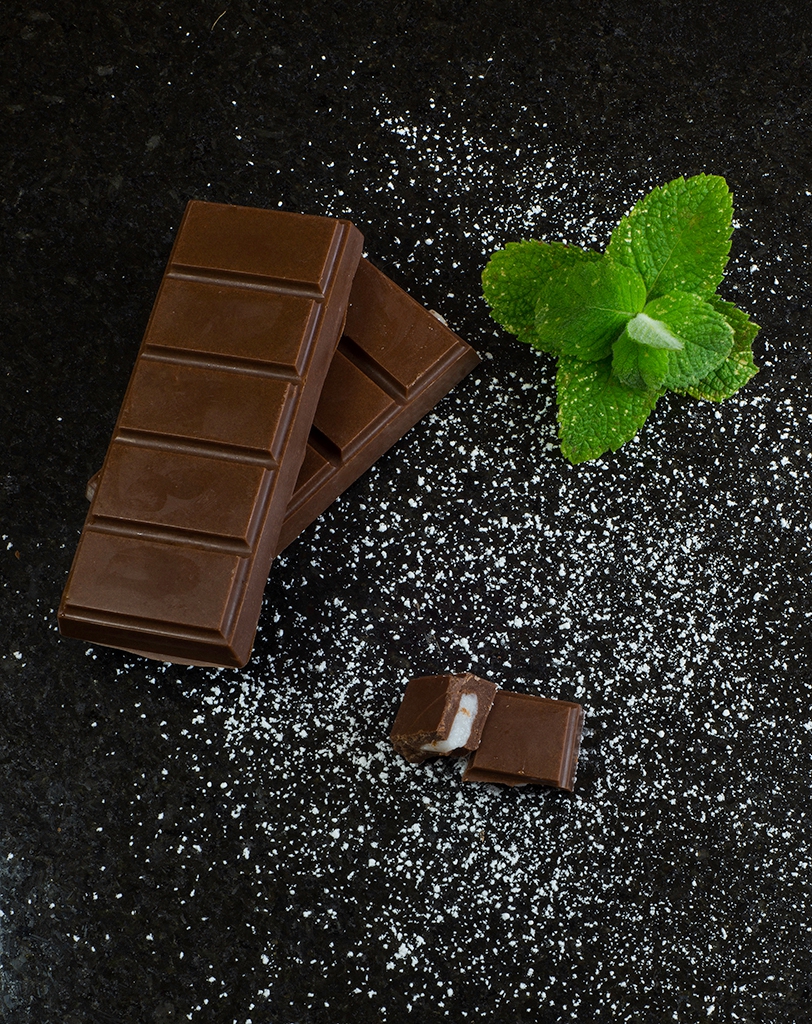
Homemade Peppermint Creme Bars - Photography by Claire Wilson, Live Life Explore
You will need one tray of deep chocolate bar moulds.
Makes roughly 150g (e.g. two 4.5 x 11.5 x 14mm bars)
Ingredients
100g plain chocolate
40g fondant icing sugar
½ tsp peppermint oil or essence
few drops water
Method
1. Prepare a batch of plain chocolate.
2. Use one third of the plain chocolate to part-fill your moulds. You should create a 3-5mm layer. Leave the remaining molten chocolate over your pan of water. Stir occasionally but don't apply additional heat unless it starts to set.
3. Place the moulds in the fridge while you prepare the fondant.
4. Using a fork, combine the fondant icing sugar and peppermint oil. Very slowly, add cold tap water, one drop at a time. You're aiming for a consistency that you can shape in your hands, like modelling clay. If the mixture gets too thin and sticky, add more icing sugar.
5. Remove the moulds from the fridge and check that the chocolate has set, by poking it gently with the handle of a teaspoon.
6. Grab a tiny amount of fondant (the exact size will depend on the size of your moulds). Using your fingers, roll the fondant into a blob.
7. Place your blob on top of your chocolate layer in your first individual mould or, for bars, your first square.
8. Press the blob into shape, making sure that the fondant is at least 2mm lower than the top of the moulds, and does not touch the sides.
9. Repeat for every mould or square. For bars of chocolate, it's best to use a separate blob for each square, otherwise the fondant might show through the grooves.
10. Check that the remaining chocolate is still thin enough to pour. Give it a stir. If thinning is required, gently re-heat the boiled water and stir.
11. Pour just enough of the remaining chocolate into each mould so that it covers the fondant blobs. If there is chocolate left afterwards, top up the moulds with the remainder.
12. Refrigerate for one hour.
13. Carefully press the chocolates out of the moulds.
14. Store in the fridge for up to five days.
+