


Plain and Simple Dark Chocolate Recipe
✔ vegan (use agave instead of honey) ✔ nut free
You can make chocolate at home, meaning that you can design and build your own perfect chocolate bar. In November, I'm going to release a book packed full of homemade-chocolate tips and recipes, but for now, I'll share the very first recipe from my book: Plain and Simple Dark Chocolate.
Plain and Simple Dark Chocolate (Photo by Claire Wilson, Live Life Explore)
You will need chocolate moulds, yoghurt pots or plastic cups.
makes roughly 100g (e.g. two 80 x 100 x 9mm bars)
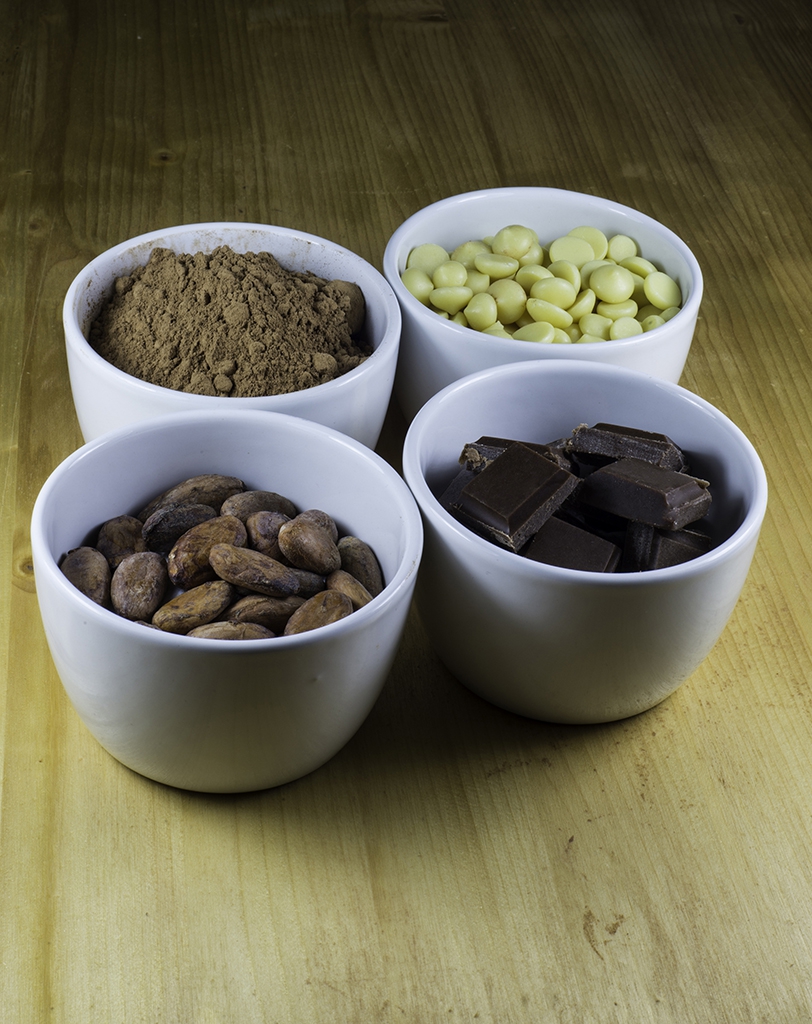
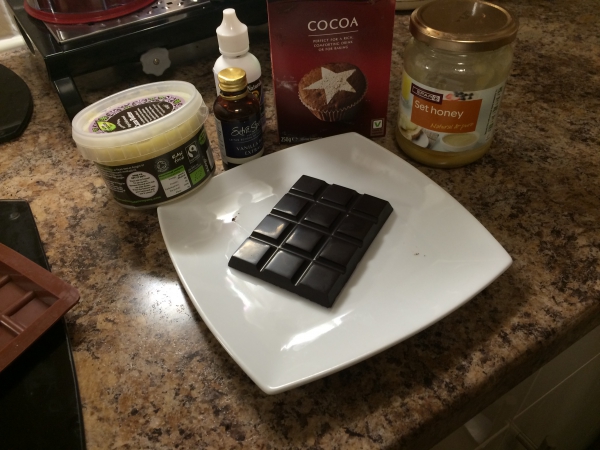
INGREDIENTS
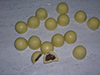
60g cocoa butter
up to 4 tsp honey
up to 5 tsp cocoa powder
1 vanilla chip (optional)
METHOD
1. Start with a cool, dry kitchen.
2. Place the cocoa butter and vanilla chip in a heatproof bowl above a pan of boiling water. Stir from time to time, until melted. This may take longer than you expect.
3. Add half of the honey and stir.
4. Add half of the cocoa powder, continuing to stir. Taste the mixture. If it is too bitter, add honey, ½ tsp at a time, to taste. If it's not chocolatey enough, add cocoa powder little by little.
5. Being careful to wipe any condensation off the bottom of the bowl, pour the mixture onto a slab, using a scraper and/or palette knife to ensure that it doesn't run off the edges.
6. Cool the mixture by working it back and forth with the scraper. Repeatedly spread it out to increase the surface area then scrape it back together. If the mixture doesn't start to thicken after five minutes, try opening a window to cool down your kitchen.
7. Once the mixture resembles the consistency of margarine, scrape it back into the bowl and return it to the pan. You should not need to return the water to the boil as a gentle heat will suffice.
8. Stir until the chocolate is just thin enough to pour or leave slightly thicker if you're going to use it for coating/filling. Allowing the chocolate to become too thin could cause the ingredients to separate in the mould.
9. To make a chocolate bar, place a silicone chocolate mould on a solid object such as a placemat or chopping board, so that you can lift it without spilling the chocolate.
10. Pour the liquid chocolate into your moulds.
11. Immediately transfer the chocolate to the fridge to set.
12. After one hour, remove the moulds from the fridge and carefully pop out the chocolate.
13. If any survive the first hour, store in a cool, dry place for up to one week.
+

1 image from readers


choclattttttttttttttttttttttttttttttttttttttttttttttttttttte!!!!!!!!!!!!!!!!!!!!!!!!!!!!!!!!!!!!!!!!!!!!!!!!!!!!!!!!!!!!!!!!!!!!!!!!!!!!!!!!!!!!!!!!!!!!!!!!!!!!!!!!!!!!!!!!!!!!!!!!!!!!!!!!!!!!!!!!!!!!!!!!!!!!!!!!!!!!!!!